Have you ever stumbled upon a black-and-white photo and wondered what it would look like in color? With the rise of AI technology, this curiosity can now be satisfied through an AI colorizer. This tool is a game-changer in photography, but like any tool, it requires skill and knowledge to use effectively. In this article, you’ll explore some essential tips to help you master the use of an AI colorizer for enhancing your images.
Understanding the Basics of AI Colorizer
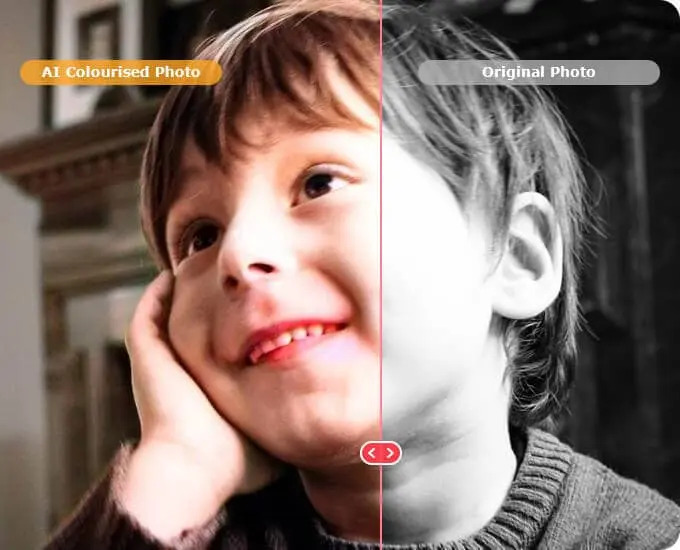
AI colorizer uses artificial intelligence to add color to monochrome images. It’s a sophisticated tool that can transform black-and-white photos into realistic, full-color images. However, to get the most out of this tool, it’s important to understand its capabilities and limitations. The AI uses data from thousands of images to predict and apply colors, but the results can vary depending on the quality and details of the original photo. Understanding how the AI interprets different textures and shapes is crucial for anticipating how it might colorize certain elements in your photo.
Choosing the Right Image
The success of AI colorization greatly depends on the image you choose. High-resolution images with clear details provide the best results. Avoid using blurry or low-quality images, as the AI may struggle to colorize them accurately. The ideal image is well-lit, with good contrast and distinct textures for the AI to correctly identify and colorize. Images with less clutter and more defined subjects tend to colorize better, as the AI can more easily distinguish different elements.
Preparing the Image for Colorization
Before using an AI colorizer, prepare your image. If the photo is old or damaged, consider using photo editing tools to clean up any marks, tears, or scratches. This step is crucial as it ensures that the AI focuses on colorizing the image rather than correcting imperfections. Ensure the image is scanned at a high resolution to capture as much detail as possible, which aids in more accurate colorization.
Adobe states, “You can also change colors in specific areas of your picture.”
Customizing the Colorization Process
While AI Colorize tools do much of the work, most offer customization options. Familiarize yourself with these features. You can often adjust the intensity of the colors, tweak specific hues, or even guide the AI on the color of certain objects. This customization can significantly enhance the overall look of your colorized image. Some tools may also offer presets or thematic color schemes, which can be useful if you aim for a specific look or feel in your image.
Fine-Tuning After Colorization
Once the AI has colorized your image, you may need further adjustments. Use photo editing tools to tweak the brightness, contrast, or saturation. Sometimes, the AI may not get the colors right in the first go, especially with complex images, so these adjustments are crucial for achieving a natural and balanced look. This is especially important for skin tones and natural elements like sky and water, which may require subtle adjustments to appear more lifelike.
Exploring and Experimenting
The best way to master AI colorization is through exploration and experimentation. Try colorizing different types of images and play around with the tool’s features. Each image is unique, and experimenting will help you learn how the AI responds to different scenarios.
AI colorizers are a fascinating advancement in photo editing, offering a glimpse into what the past may have looked like in color. By following these tips, you can enhance your images effectively and realistically. Remember, practice and experimentation are key. So, dive into the world of AI colorization and watch your black-and-white photos come to life in vibrant color!